Creating profiles
Last updated: 18/8/2020Table of contents
1. What is a profile?
Profiles are used for displaying information about individual members of staff at Arup. They include key contact information and details about that person's experience, interests and work they've carried at Arup.
You should only create a profile for someone when you are able to provide ALL the information detailed in this guide. Do NOT create profiles without this information.
When you add a profile, you should also remember that you - and your team - are responsible for the accuracy of that profile. That means ensuring both that the content is correct, but also that the person remains employed with Arup. You will need to check at least once per year.
2. Where are profiles?
Profiles on the website
Profiles are located under the URL www.arup.com/our-firm/profile-name
At the time of writing, there is no one page where a user can see all staff members. Profiles will be revealed to users in one of three ways:
- By searching Google / Bing etc for a staff member's name and clicking a specific result
- By searching for a staff member's name on arup.com
- By clicking a link to a profile within content (for example the utility bar)
Profiles within the CMS
Profiles are 'bucketable' and stored in Sitecore 'Buckets'. Buckets are essentially Sitecore terminology for folders. They allow the CMS to store content in a folder structure, making things easier to find. A bucket's name does not appear in the URL of a page.
Profiles are stored in the following way:
Our firm > Letter (i.e. 'A') > Name of profile
This means that when you create a new Profile item, it will be stored in letter 'bucket' corresponding to the first letter of the profilee's name. For example, a profile called 'Steve Burleigh' would be stored as follows:
Our firm > S > Steve Burleigh
3. Creating a profile
To create a news article, you will need to:
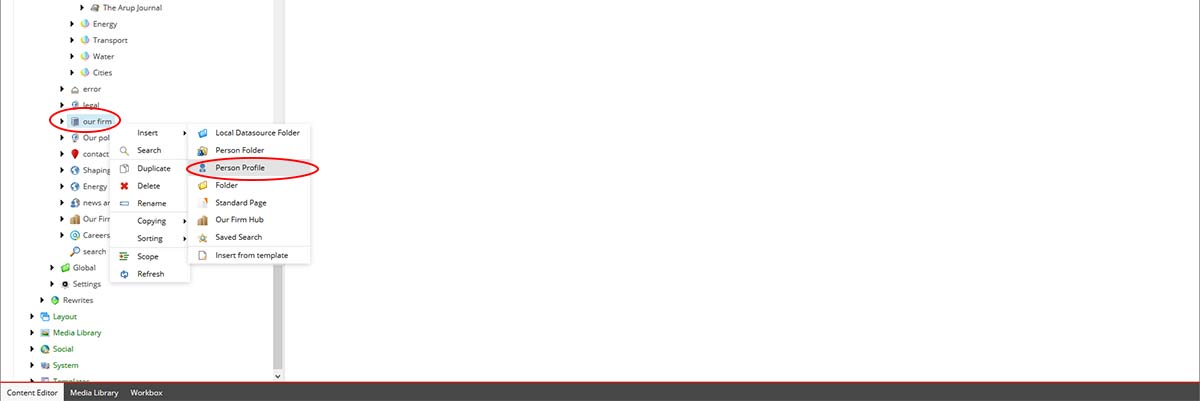
- Right click on 'Our firm' and choose 'Insert > Person profile'
- Enter the name of the person who's profile you're creating for example 'Steve Burleigh'
- Click 'OK' and your profile will be created and assigned to the 'S' bucket
Adding content to your profile item
Virtually all content you add to a profile will be added via the CMS interface. Profiles make only very limited use of modules and you cannot add multiple modules in the way you would for a News or Project item.
Only one type of module can be added and full instructions on this are provided below.
Details
*fields marked with an asterix are required and must be completed
- Name* - Enter the name of the person who's profile you're creating - for example 'Steve Burleigh'
- Title - Please leave this field blank
-
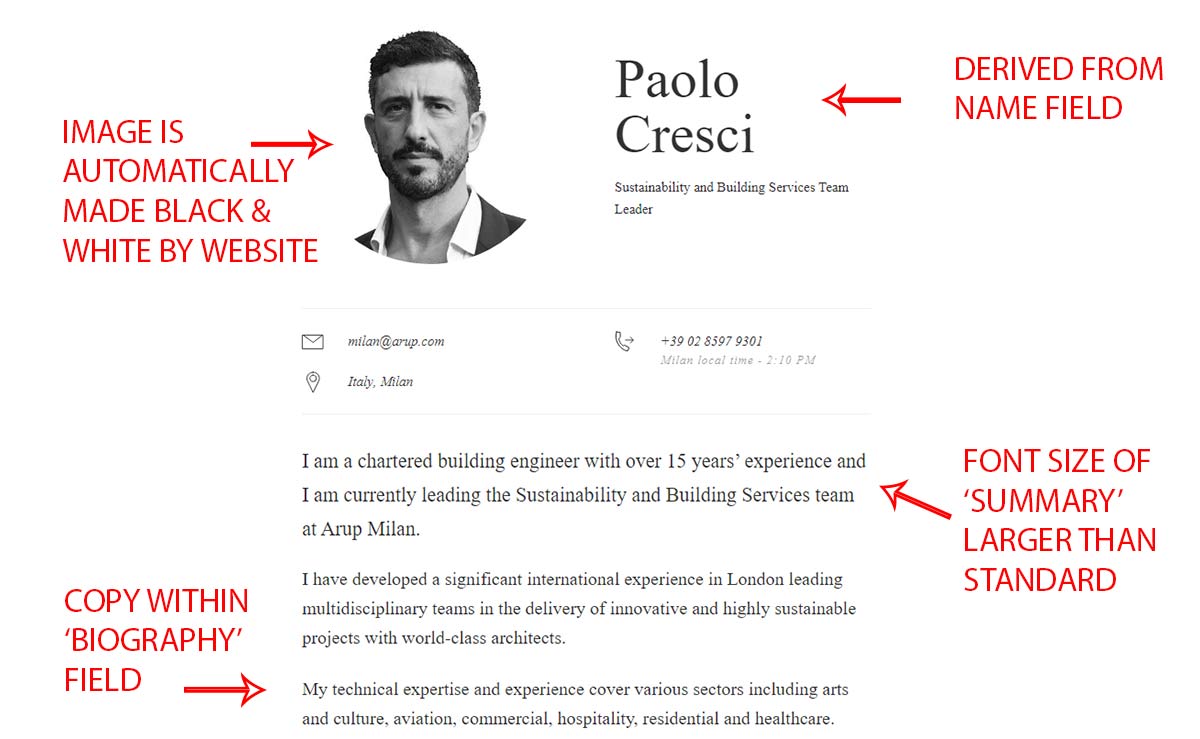
Picture* - add the image of the person here. See the uploading guide for further advice on adding imagery. The image should be:
- Resized to 400px wide by 400px high. It MUST be square in dimension
- The picture should be 'portrait style' and not contain significant background elements (i.e. not a picture of the person on site)
- It can be black and white or colour. The website will automatically display the image in black and white
- Summary* - Enter the first one to two sentences of the biography of your profilee here. Content contained in this field is displayed in a slightly larger font size (see image below or details)
- Biography* - Enter the remainder of your biography into this field. Click 'Show editor' to enter copy using the Rich Text editor
After completing the fields above, your content will displayed as shown in the following screenshot:
Recommend content
You can ignore this fieldRelated
You can select the following areas of related content for your profile. Each of the fields functions in the same manner.
- Browse the left hand 'content tree' and locate the item you're looking for
- Double click your chosen item i.e. a perspective article
- It will then appear in the righthand column
- To remove a selection, double click it in the righthand column
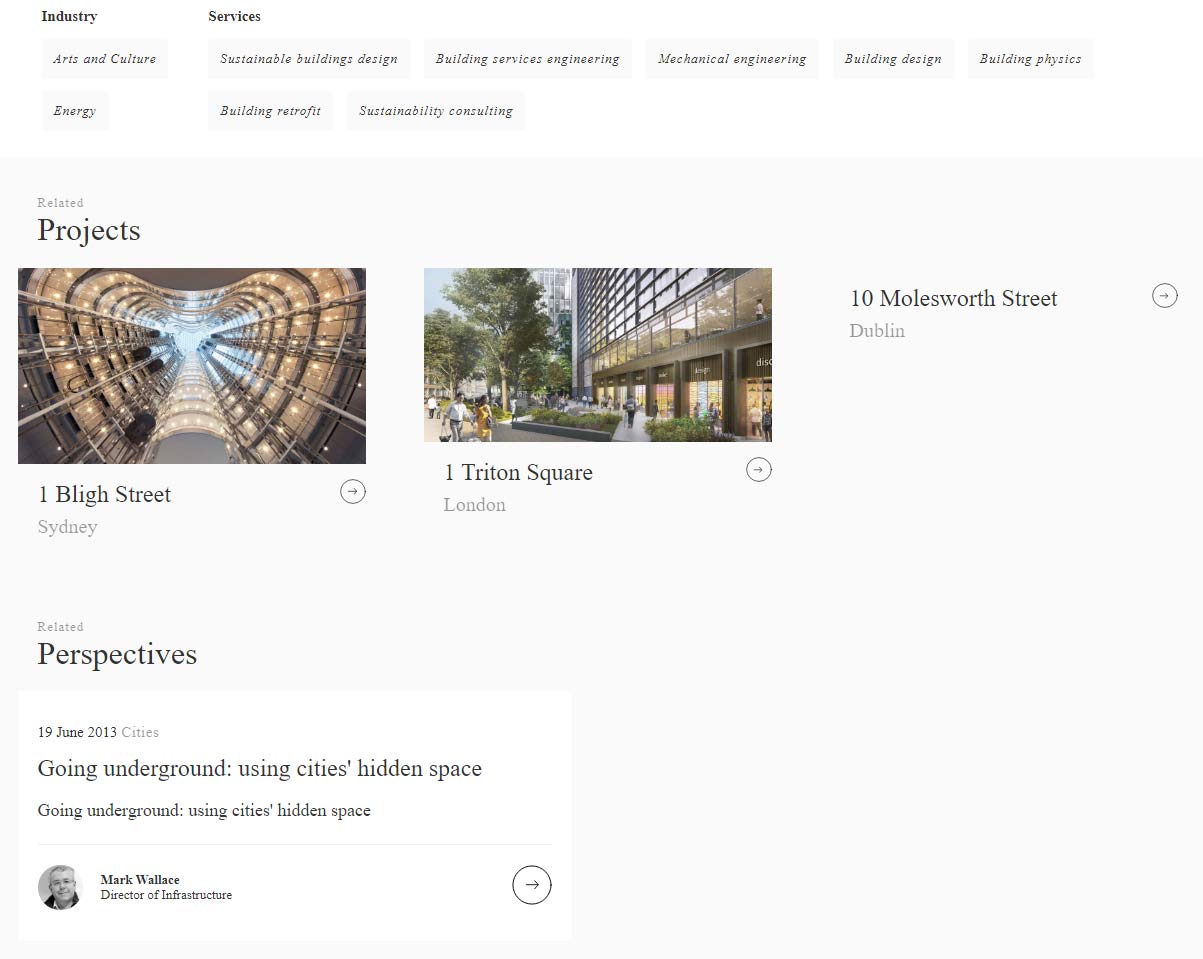
Perspectives - Select any articles that your profilee has written or is significantly involved with. This content is displayed in pairs. You can select up to 4 articles
Projects - select any projects that your profilee has worked on. This content is displayed in threes. You can select up to 3 projects.
Industries - select any industries in which your profilee has specialism(s). You can select as many as apply
Services - Select any services in which your profilee has specialism(s). You can select as many as apply
Related content displays in the following manner:
Contacts
*fields marked with an asterix are required and must be completed
- Telephone* - please enter an appropriate phone number for your profilee. This should include the international dialling code i.e. '+44 (0)207 665 2212'
- Email* - please enter a suitable email address. Where possible it is advisable to use generic emails such as 'milan@arup.com' or 'digital@arup.com' rather than personal emails. This helps negate the impact of staff leaving Arup and no longer responding to emails
Job
*fields marked with an asterix are required and must be completed
- Role* - Please enter your profilee's job title as shown on their staff intranet profile. For example, 'Associate', 'Director' or 'Senior Engineer'. Please DO NOT include any reference to location, group or specialism here.
- Location* - Please select the person's office location. Expand open the appropriate country until you arrive at the office you want. Double click the office name until it appears in the righthand column.
Facebook Open Graph
These fields are used to display content when your article is shared via social platforms.
*fields marked with an asterix are required and must be completed
- Open Graph Title* - Please enter the name of your the person in your profile
- Open Graph Description - Please enter a brief description / summary of your profile
- Open Graph Image - N/A
Metadata
This information is used to aid the discovery of your article via search engines. Adding it is vital in helping people to find the article and ensuring that it performs to the best of its ability.
*fields marked with an asterix are required and must be completed
- Browser title* - Please enter the name of your profilee
- SEO meta description* - Please enter a brief description / summary of your profilee
- Meta keywords - keywords have been used by search engines in the past to help users locate content. However, keywords are no longer of high relevance for search engines such as Google and you do not need to add these to aid search performance.
Completing your profile
Once you've added all the necessary information to your profile, click the 'save' button to ensure your work is saved.
NB - it's advisable to continuously save your work as you add content to prevent losing work if something should go wrong.
Adding related content modules to your profile item
If you have added related projects or perspectives to your profile, you must follow the steps below to ensure these display:
- Open the Experience Editor (select 'Publish' in the ribbon menu and choose 'Experience Editor' from the options

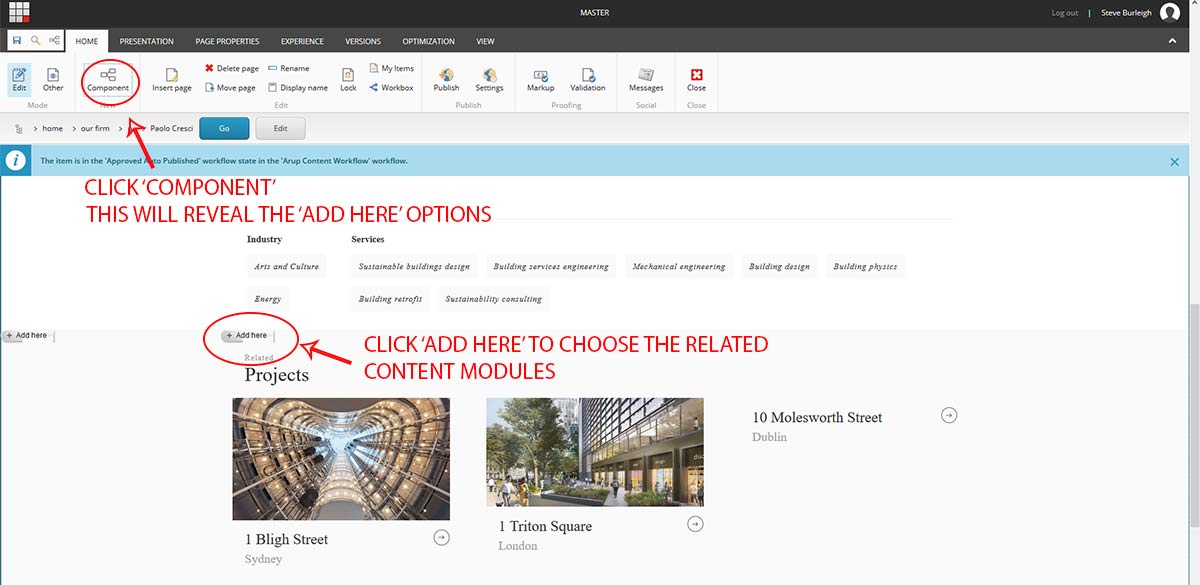
- Once the Experience Editor has loaded, select the 'Home' item from the ribbon menu (should be selected by default) and then choose 'Component' from the options.
- Scroll to the bottom of the profile page - you should see options to 'Add here' - click one of these. This will launch a popup window from which you can choose either 'Related Perspectives' or 'Related Projects'
- Select the appropriate option and click 'Ok'
- Repeat these steps if you're adding both projects and Perspectives
- Save the page once you've added the modules you want
Adding links in Sitecore
You can add links to content in certain fields. Fields on a profile document you can add links to include:
- Biography
Please see the 'Adding links in Sitecore' guide for more information on adding links.
Adding an alternative language version
Sitecore gives you the ability to add multiple language versions to your content. A full guide to language versions has been provided, but you should be aware that:
- A profile MUST be created in English first
- Any modules that have been added to your profile item will also require translated versions be created
Find out more about languages in Sitecore
Workflow
Profiles are covered by the CMS' workflow. This means that only certain staff are able to publish content. Generally, this will be a member of the GMC Online team - though some regions including Australasia and the Far East also have a member of staff with publishing rights.
4. Job titles
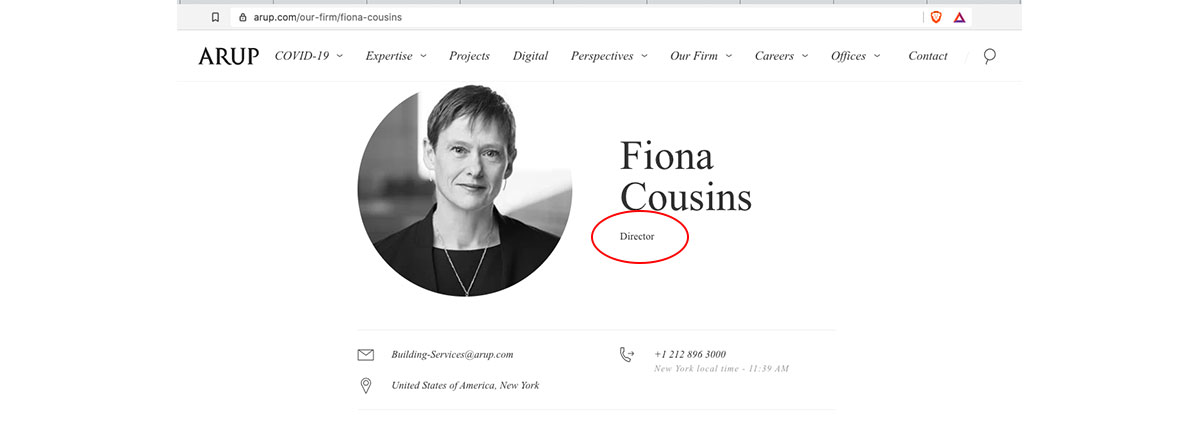
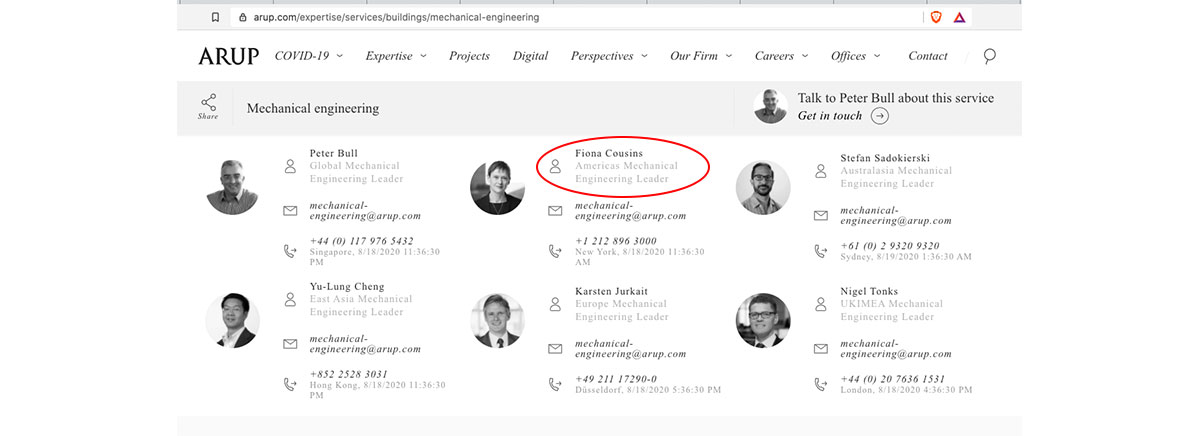
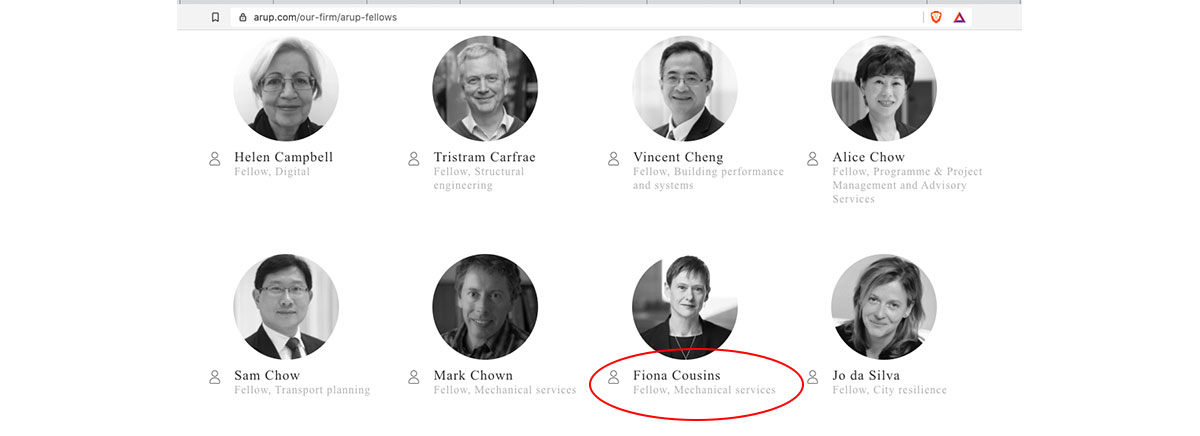
Many staff have multiple job titles. The Profile template can only hold one single job title. To address this, functionality has been developed that allows for the addition of mulitple job titles - for use in different parts of the website.
For example Fiona Cousins' profile shows her job title as 'Director'. Fiona has a number of different roles (at the time of writing) including Americas Digital Leader, Americas Mechanical Engineering, and being a board member and Fellow. The following screenshots show you how her profile is being used in each of the above areas:

Adding job titles / roles
The following examples provides an illustration of when you would need to create an additional job title.
You've created a profile for 'Mike Smith' as he is the contact for a project you've added. Mike is an Associate Director, and the civil engineering leader in the UK. For people who view the project, you want people to know that he is the UK Civil Engineering Leader.
You've added a new Perspective article written by Fiona Cousins on the subject of digital technology. Fiona's job title in her profile is set to 'Director' - but for the purposes of the article, you want her to be known as the 'Americas Digital Leader'.
To add a new role to a person's profile, you need to:
- Select the profile of the person you wish to add the role to
- Right click on their name and choose 'Insert > Role'

- Enter a name for the role - usually you will simply enter the job title you want to add for example 'Americas Digital Leader' and click 'OK'
- The screen will re-load and the new 'role' will be presented on your screen with three avaialble fields
Adding content to the 'role'
The 'role' item contains three fields:
- Title: This field is automatically populated with the name of the Item you created - ensure to check that this is correct
- Email: You can add an alternative email address - this should match the job title you're creating. For example, if the job title relates to 'digital', you should an appropriate digital email address i.e. digital@arup.com. NEVER use personal email addresses.
- Telephone: You can add an alternative phone number for the person
Once the details above have been added, click 'save' as you normally would for any piece of content.
Where can you use your new roles?
You can use 'roles' in the following places:
- Perspectives
- Projects
- Publications
The solution for using a 'role' has been implemented identically. The following instructions use a Perspective as an example.
- Select the project / perspective / publication that you wish to add the new 'role' to
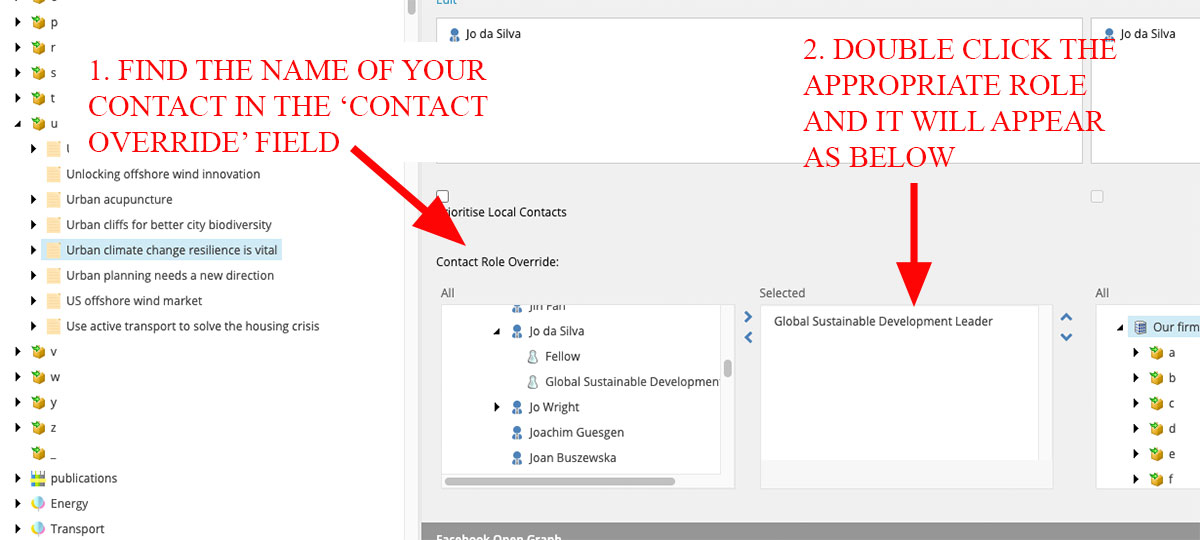
- Browse to the 'Contacts' section of the template
- Under 'Contact Role Override', find the name of the person who's role you wish to add (this will match your page's contact). In the example below we are using Jo da Silva
- Click the black triangle next to the person's name to expand out the list of roles available for selection - double click on your chosen role
- The role will appear in the 'Selected' column
5. Best practice
You can see an example of a well-presented profile item by looking at an exemplar profile. (link to item).
You should bear in mind the following when adding profiles to arup.com:
- Profiles are key content items on arup.com. Ultimately staff represent Arup's key resource and profiles are how we bring this to life online
- Profiles are to be written in the first person - for example 'I am a civil engineer' or 'I am the leader of Arup's architecture practice in the Americas'
- Profiles should only ever be created for Arup staff. You must NOT create profiles for non-staff members
- Profiles should always have as much information as possible. At a minimum, a profile should have:
- Name
- Picture
- Job title
- Contact details
- A brief biography
- Details of industry and service experience
- When completing the 'job title' field you should only use roles such as 'Director', 'Principal, 'Associate' or 'Senior engineer' etc. This value should match what is used for the person on the Arup intranet.
- The summary field should always include reference to the person's specialism and any specific roles they play. For example:
I am a chartered civil engineer, with over 15 years experience. I am currently the Americas Civil Engineering Leader, whilst I am also the Infrastructure Leader for Canada.
- Use the biography to bring the person's story to life and highlight their experience
- Don't forget to add related content - particularly projects - wherever possible. Highlighting projects in this way helps to bring a user's skills and experience to life