Adding modules
Last updated: 6/3/2019Table of contents
1. What are modules?
Modules - sometimes referred to as components - are elements of content that you can add to virtually any page on arup.com. They are pre-styled and perform defined tasks. For example, the 'Image' module is used for adding images to your content.
arup.com has a range of modules (detailed here) that you can utilise to bring your content to life. We have modules to give you the freedom to create unique experiences from your content. By using modules, you are free to layout your content in anyway that you see fit (within some broad parameters), ensuring that no two pages may ever look exactly the same.
Modules are created using the Content Editor, and added to your page using the Experience Editor.
2. Creating modules
All modules begin life in exactly the same way. The steps below layout how to create a module - using a news item as the example 'host' for the modules.
The following details the steps to prepare for adding modules and adding a new module. It does not provide details on the individual modules you can use. You should consult the individual module guides for full details on those relevant to your article.
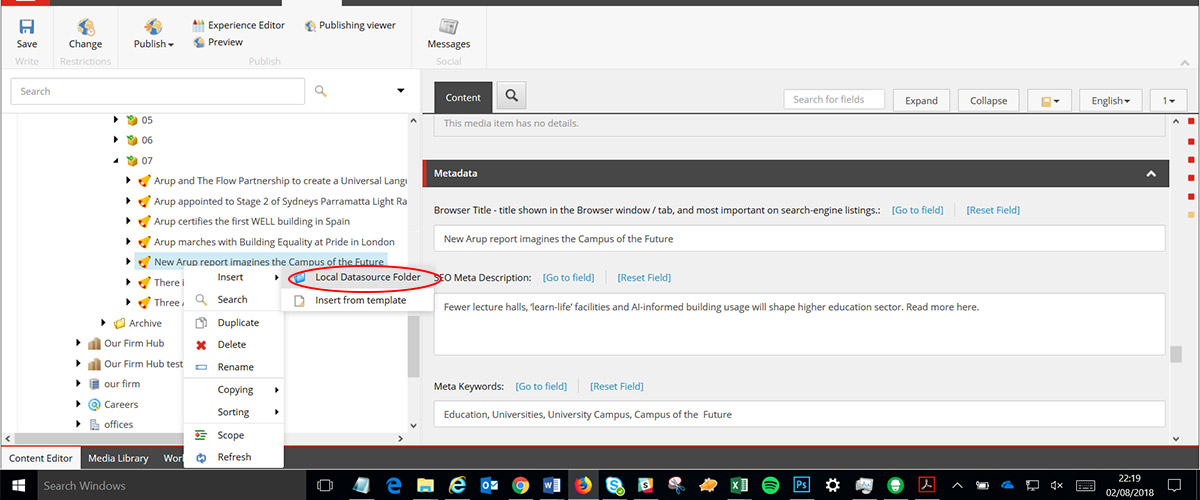
- Right click on your content item (for example News item) in the content tree window and choose 'Insert > Local datasource folder'
- You will be prompted to name the item you've created - you should leave the pre-defined label of 'Local content' and click 'OK'
- Once your 'Local content' folder is created, it will appear underneath your content item. You can now add modules to this folder
- To add a module, right click on the local content folder and choose 'Insert > module name'
- Give your module a suitable name and click OK
NB - when you name your modules, its worthwhile considering the order you're going to add them in. If you need to come back to your article later on (or something happens to it) using a naming convention that helps you easily identify what's in the module - and the order you're intending to add them - makes it much easier to edit or restore an article in a worst case scenario.
It is highly recommended that you create all the modules you wish to before you begin adding them in the Experience Editor.
3. Modules in the Experience Editor
Each page type in the CMS contains a number of so called 'placeholders'. These are areas that have been specifically defined to allow the addition of certain modules.
Adding modules to these placeholders is relatively simple, and is detailed below:
- When viewing the page you wish to edit within the Experience Editor, click the button marked 'Component' in the main navigation bar (circled in the screenshot below)
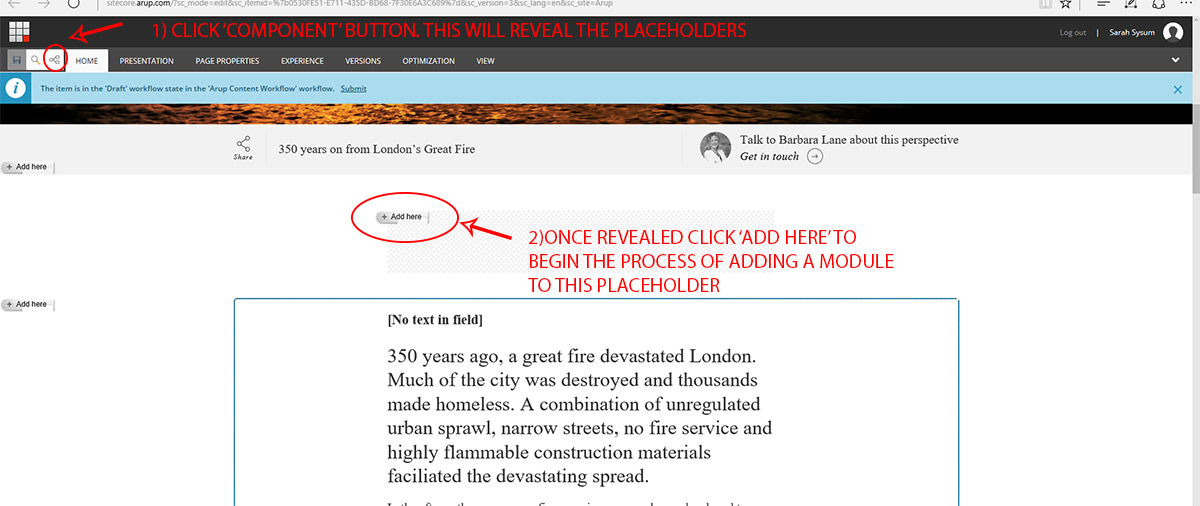
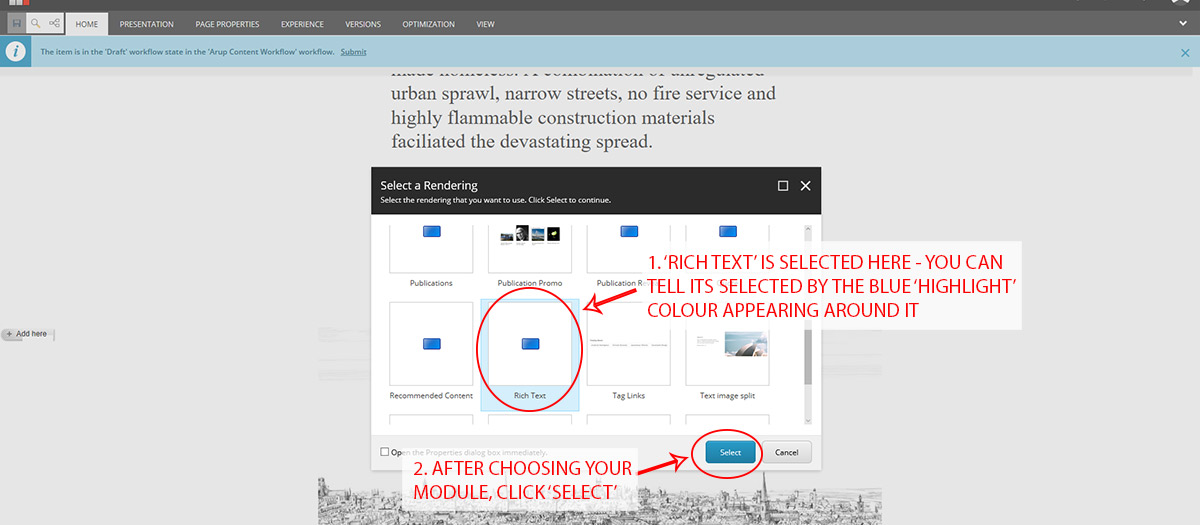
- After choosing the placeholder you wish to use, click 'Add here' and a popup window will launch. This contains each of the modules that you are able to add to this placeholder. Select the module you wish to add by:
- Click on the appropriate module name
- Click 'Select'
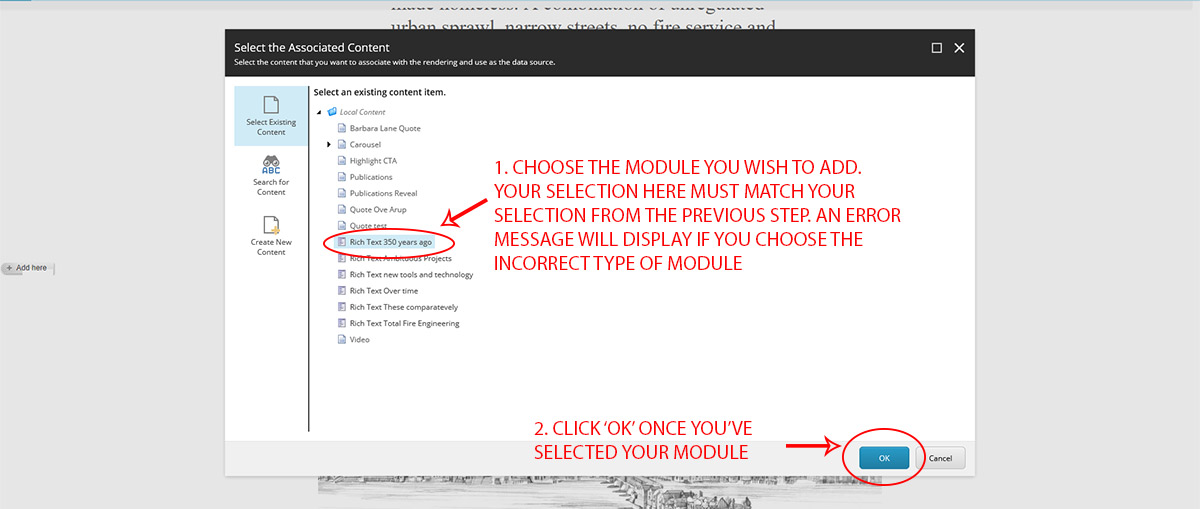
- After clicking 'select', you will be taken to a new screen - here you select the specific module you wish to add. NB - you can ONLY select modules from this list that match your selection in the step above. For example, if you selected 'Rich text', you must choose a 'Rich text' module you've created
- Choose the module you wish to add, and click 'Ok'
- After loading, you should see that your module has now been added to the page
You will need to repeat the steps above for each unique module that you want to add to your page.
Editing modules
It is possible to edit the content of individual modules via the Experience Editor.
To edit the contents of a module, please follow the steps below:
- When viewing your page in the Experience Editor, browse to the module you wish to edit - as you hover over individual modules you should notice that they become 'active' and are highlighted with a blue edge. Click the module you wish to edit
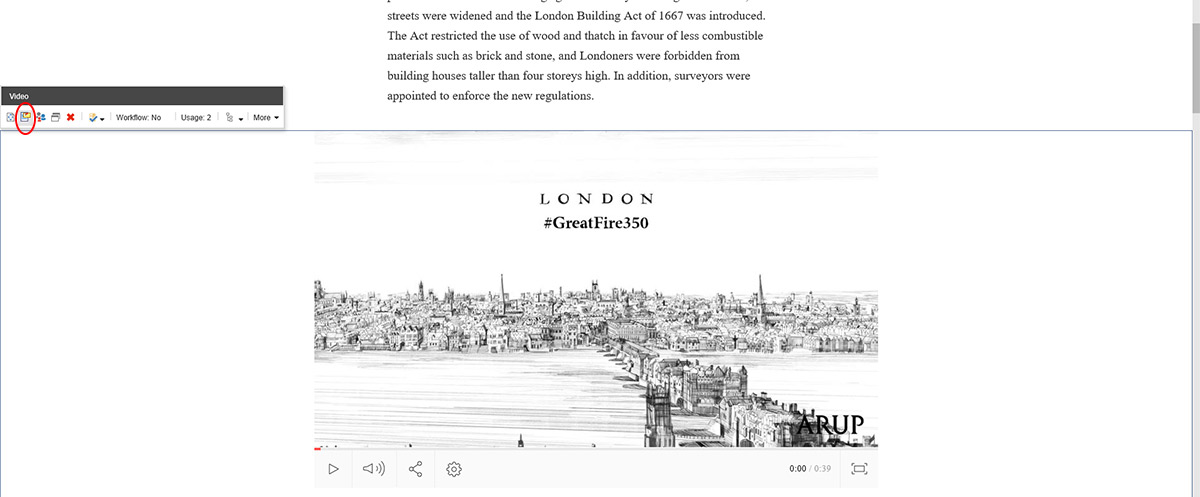
- After clicking, you should notice a small menu appears (either above or below your module). Click the icon that looks like a post-it pinned to a letter (highlighted below) - this will launch a popup
- Within the new popup window, you will see all the fields related to the module you're editing. Simply update as appropriate and save the changes
Please note:
- Not all modules will update immediately when you edit them via the Experience Editor. To check your change has gone into effect, it's best to save the page first
- Not all modules can be edited perfectly via the Experience Editor. Modules including the 'carousel' can be very difficult to edit via this method and you are advised to do so through the Content Editor instead
- Do not edit a module in BOTH the Experience Editor and CMS at the same time. This will result in changes you make getting overwritten and more than likely lead to frustration!
Removing modules
To remove a module:
- Browse your page and select the module you wish to remove by clicking anywhere on it
- From the menu that appears (either top or bottom of your module) click the red 'X' icon - you module should then disappear
NB - removing a module from your page does NOT delete it. If you change your mind, you can re-add any module you've previously removed via the Experience Editor.
4. Best practice
Each of the module guides contained within this site contains best practice guidance on how to best utilise the module. The below details some general best practice for using modules on your pages.
- Think about your layout first - before you add any modules, why not draw out your content on a piece of paper? Doing this will help you plan out your narrative, and identify the best modules for telling your story. Spending a bit of time doing this will save you time later on - as you'll know exactly which modules you want to use.
- Think about the order in which you create modules - if you draw out your layout first, you can simply create all your modules in the Content Editor in one go. But if you don't, you might want to think about creating one and then adding it via the Experience Editor, then creating a second and adding this. This way you can visually see how things look. You'll likely save time not having to create or recreate additional modules if your first attempt doesn't work.
- Label your modules sensibly - ideally, look to indicate the order you're adding the modules to your page in their name. This way, it helps you understand which modules are being used, and what order they're in if you need to edit them - or if something goes wrong later on.
- Tell GMC Online if your not using a created module - if you create modules, but then don't use them on your page, try and let GMC Online know so the team can delete them. This keeps the CMS organised and makes future editing easier.
- Don't use modules for the sake of it - modules are there to bring your content to life. But, misusing them can harm your content. This online guide provides advice on how to best use modules, but ultimately it's up to you to decide how you use them. Don't feel under pressure to add modules just to break up your content, and only use modules such as the Image module or Text Image Split if they help tell your story.