Uploading images
Last updated: 1/4/2019Table of contents
1. Uploading images to Sitecore
Once you've prepared your images, the next step is to upload them. Images are stored in Sitecore's media library. This guide provides details on how to add content to the Sitecore media library via two key methods.
2. Media library
Images are stored in Sitecore's media library. The media library contains every image that you see on arup.com with the exception of a small number used by developers for building the site.
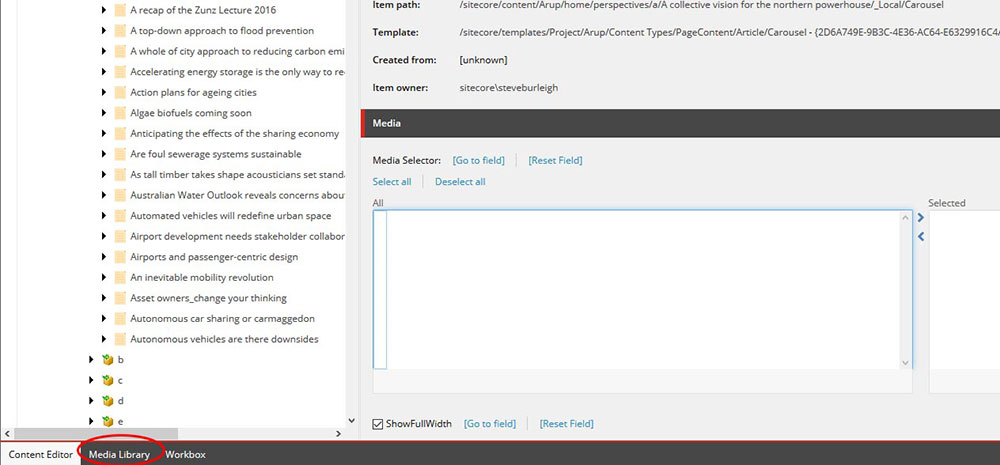
You can access the media library from two places:
- Sitecore's dashboard (the page you first see when you login to the CMS)
- Navigation link on each page you view in the CMS (highlighted below)
Locating images
The media library is organised into folders. Within these folders, the structure of the site (i.e. expertise / projects / our firm / perspectives etc) has been re-created. This is to aid the discovery of images in future and for 'good housekeeping'.
You'll find images within the following folder structure:
Arup > Images > 'content type' where 'content type' could be 'Projects' or 'Perspectives' etc
- To open a folder, click the black arrow next to the folder's name. The folder will then expand.
- Browse to the appropriate content type your working on (for example, if you're adding a Carousel to a Project page, go to Arup > Images > Projects)
- In the content type folder (i.e. Projects) select the letter that corresponds to the first letter of your page's title. For example, if your page is called 'Building Information Modelling', you'd browse to the B folder. Once in the correct folder, locate the folder that corresponds to your page's name
Creating new folders
If you've not uploaded any images for your page yet, then you'll likely need to create a new folder to hold your images.
- Browse to the appropriate letter in your content type folder (using the example above 'Arup > Images > Projects > B')
- Right click on the folder name in the content tree and choose 'Insert > Media folder'
- Give your folder a matching name to your page's name and click 'OK'
Adding images to the folder
Once you've found the appropriate folder, or created it, you're ready to upload your images.
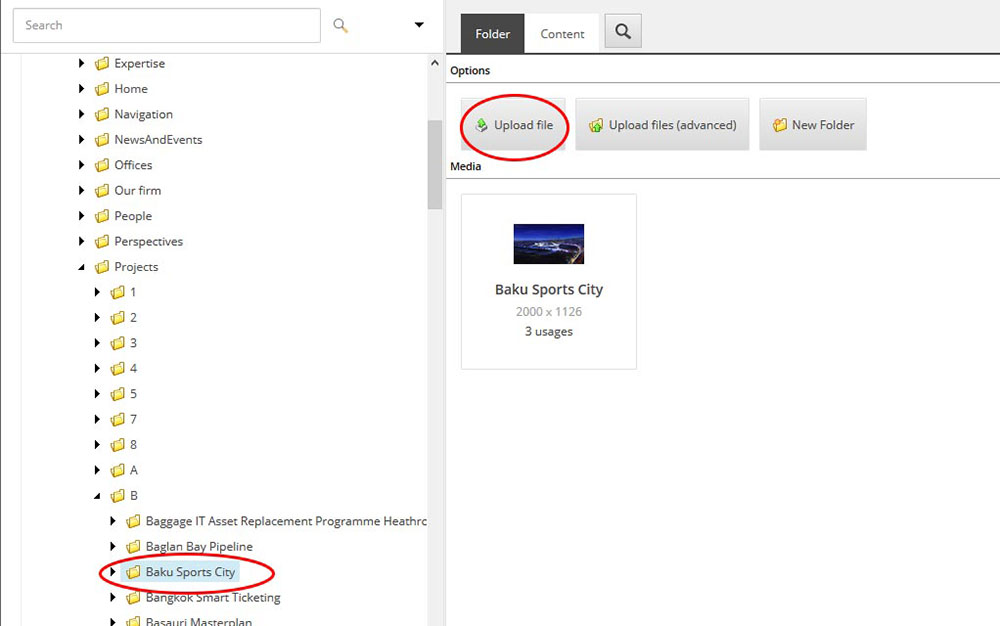
- Make sure the folder you want to upload to is selected in the content tree
- Choose 'Upload file' from the options at the top of the main window (highlighted below)
- A prompt will then appear asking you to find the images you want to upload. Click 'Browse' and locate the image you want to upload on your computer
- Click 'Upload' once you've selected your image
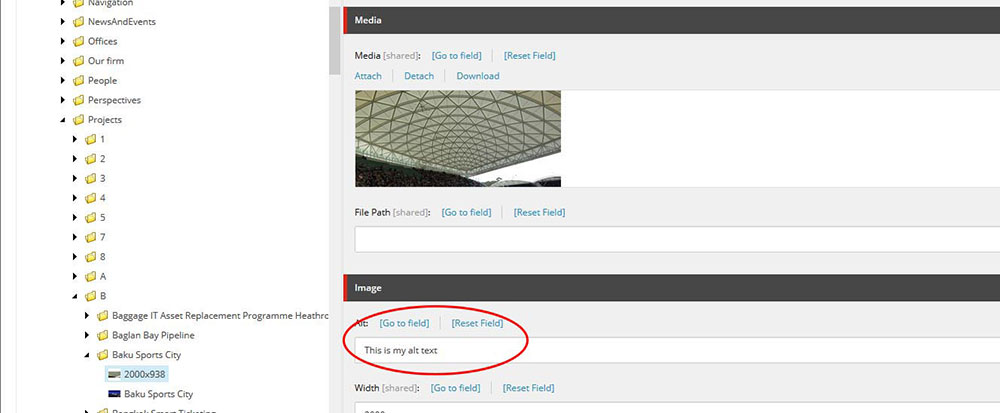
- Once your image is uploaded, you'll then be taken to it within the media library
- You need to add 'Alt' text at this point - the 'Alt' text is a brief description of the image and MUST be added for all images you upload
- Repeat the above steps for each image that you wish to upload
3. Selecting and uploading images at the same time
Many of the pages you build or the modules you add in Sitecore will require you to select images that you've either previously uploaded or wish to upload.
Individual module guides and page guides will contain reference to uploading images. The below provides full details on how to select an image, and upload an image at the same time as selecting them.
NB - if you choose this upload method it is important to ensure you've already created the necessary folder(s) to contain your image(s) if it does not already exist using the details above.
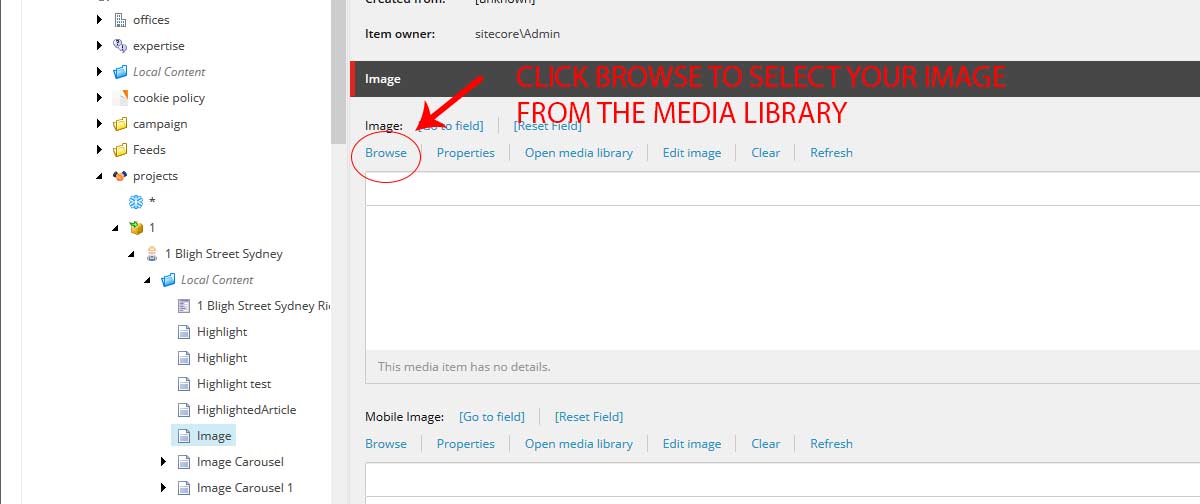
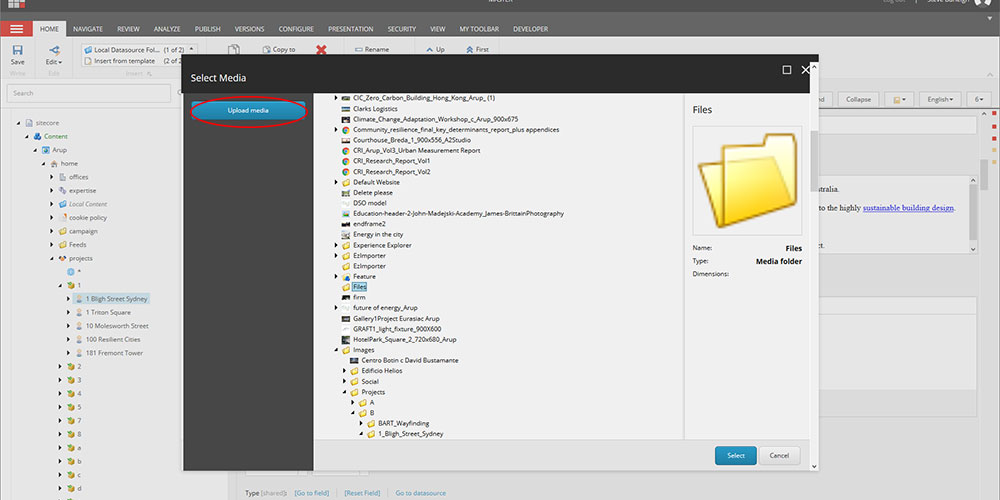
- When viewing a page field in Sitecore that requires an image, click the 'Browse' option as highlighted below. You will only follow these steps if you've NOT already uploaded your image(s).
- From the resulting popup, click the button marked 'Upload media'
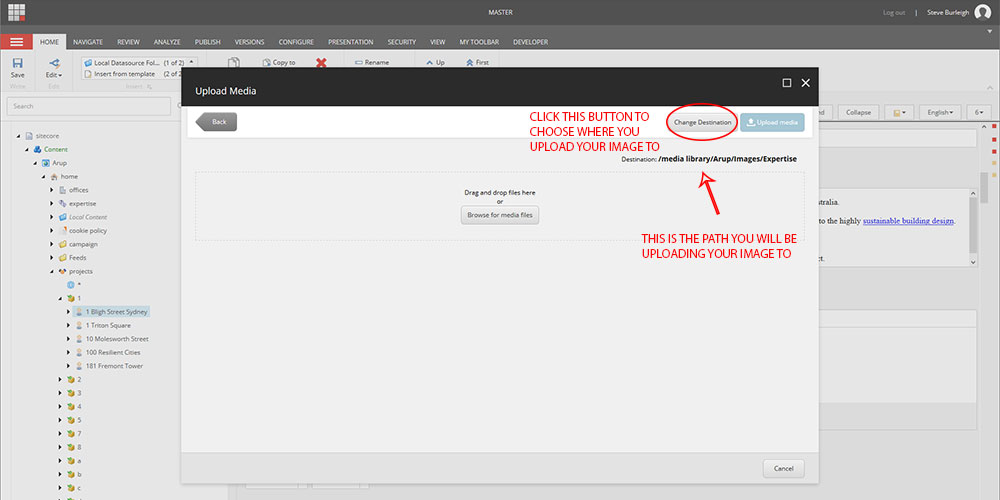
- You will be taken to a new popup - you now need to select the destination folder you're going to upload your image to. Click the grey button marked 'Change destination'
- The media library 'content tree' will appear - browse to the folder that you want to upload your image to, click it, then click 'Confirm' when you're happy.
- Once selected, the new image path you're going to upload to should appear in the top right hand corner of the popup
- Once your target path is correct, click 'Browse for media files' and select the appropriate file from your computer
- Ensure that you enter the 'Alternate text'
- Click the blue 'Upload media' button (top right corner of the popup) and your image should be uploaded to the folder you selected
- Once the upload is completed, you should be directed to the folder tree - allowing you to select the image you've just uploaded
FAQ
- Can I move an image once it's uploaded?
- I've uploaded my image to the wrong folder. What should I do?
- Can I replace an image that I've uploaded with an alternative version?
- Can I re-use an image I've uploaded on multiple pages or modules?
1. Can I move an image once it's uploaded?
A. No. Once you've uploaded an image to the media library it is not possible to move it without administrator support. Ultimately you should not need to move images around.
2. I've uploaded my image to the wrong folder. What should I do?
A. Firstly, don't panic! Image location is not key to the functionality of Sitecore or the website. It is key to helping you and others to easily find your image(s) in the future. Good practice demands that you're careful when uploading images. But if you do make a mistake, you won't break anything.
3. Can I replace an image that i've uploaded with an alternative version?
A. It is possible to replace an image you've uploaded with an alternative image - and not have to re-select it for each document / module you've used it. However, please do not attempt to do this yourself, If you want to replace an image you've used previoulsy, please contact steve.burleigh@arup.com.
4. Can i re-use an image i've uploaded on multiple pages or modules?
A. Yes - and indeed, you should always seek to do this. Do not upload the same image multiple times. If you've stored it correctly, you should be able to find an image you've used for project X, and easily use it for a perspective or news item if you need to. Everytime you upload an image, this creates a record in the site's database - which must store the image's data. This means that if you're uploading the same, large image multiple times you're causing the database to grow - and risk slowing the site down.